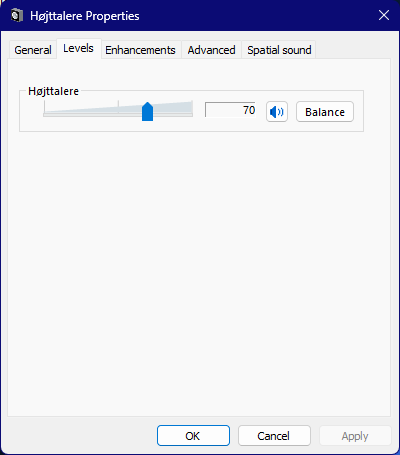
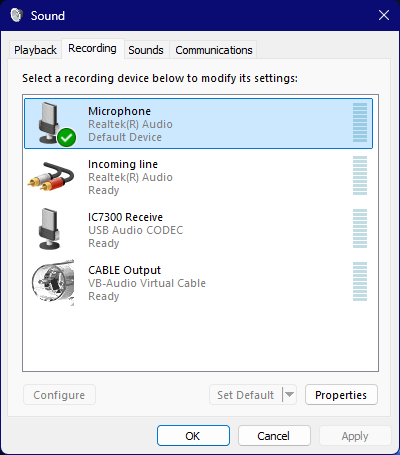
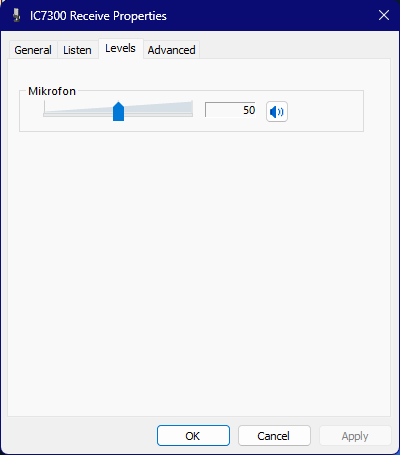
Windows Sound Device levels.
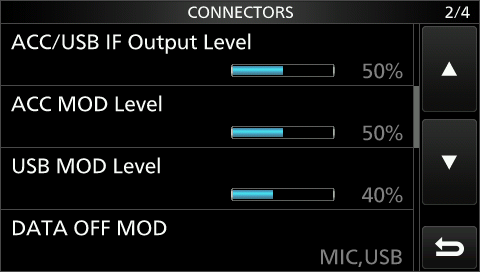
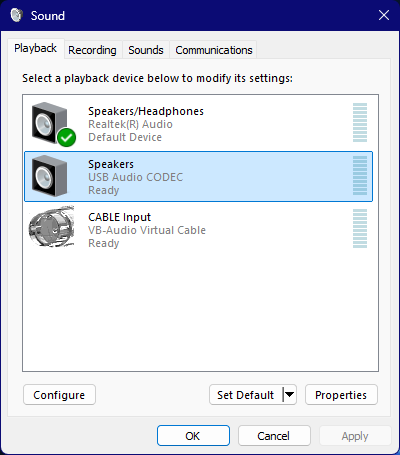
In Windows "Playback devices" my level of "USB Audio CODEC" is set to 70% while USB MOD Level in the radio menu is set to 45%.
This controls power output.
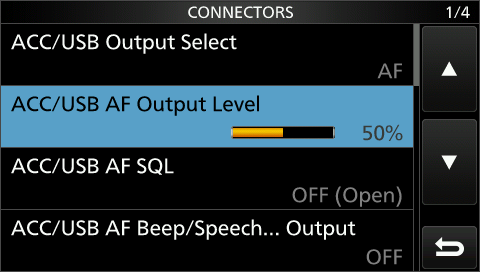
In Windows "Recording devices" my level of "USB Audio CODEC" is set to 50% and ACC/USB AF Output Level is set to 50% in the radio menu. This controls audio from radio to software.
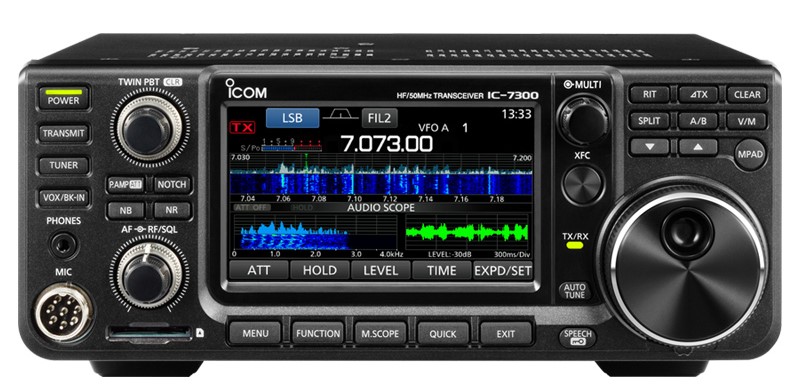
Icom IC-7300
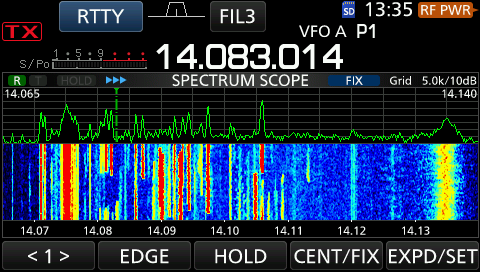
"Spectrum Scope" Adjustment by N9EWO (Click for download).
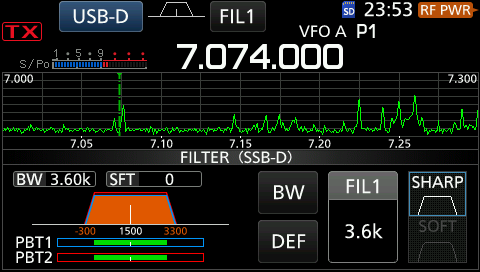
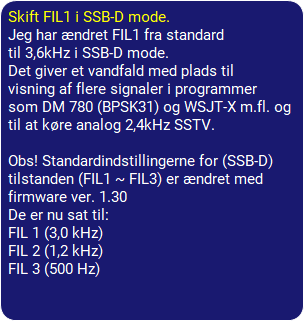
Change FIL1 in SSB-D mode.
I have changed FIL1 from default to 3.6kHz in SSB-D mode.
It provides a broader waterfall with multiple signals in DM 780 (BPSK31) and for running analog 2.4kHz SSTV etc.
The default settings of the SSB-D mode
(FIL1 ~ FIL3) are changed with the new firmware ver. 1.30, it's now:
FIL 1 (3.0 kHz) FIL 2 (1.2 kHz) FIL 3 (500 Hz)
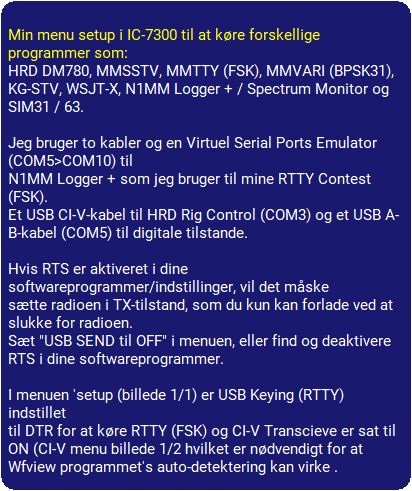
My menu' setup in IC-7300 for running various applications such as: HRD DM780 , MMSSTV, MMTTY (FSK), MMVARI (BPSK31), KG-STV, WSJT-X, N1MM Logger+ / Spectrum Monitor, and SIM31/63.
I’m using two cables and a Virtuel Serial Ports Emulator (COM5>COM10) for N1MM Logger+ that I use for my RTTY Contest (FSK).
One USB CI-V Cable (FTDI) for HRD Rig Control (COM3 max. 19200 Baud), and one USB A-B Cable (COM5 115200 Baud) for digital modes.
If your software settings has RTS enabled somewhere, it will maybe send the radio into TX mode and you have to power off the radio. You may need to set USB SEND to OFF instead or find and disable RTS in the software.
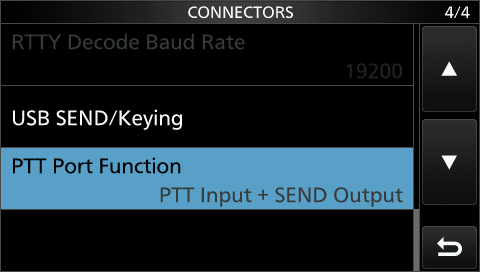
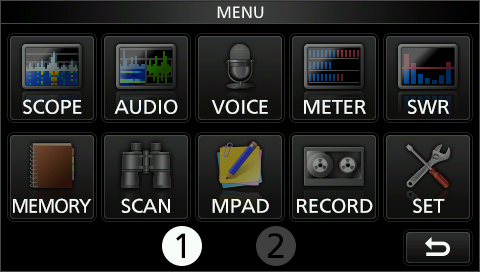
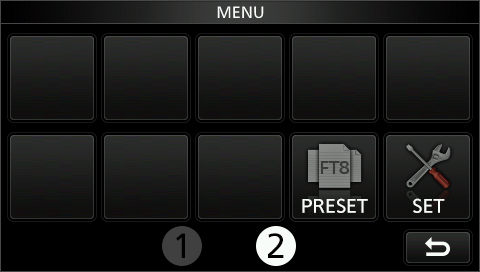
In menu' setup (picture 1/1), USB Keying (RTTY) is set to
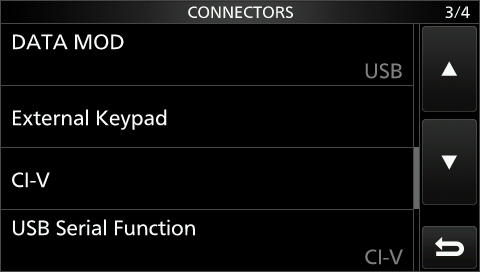
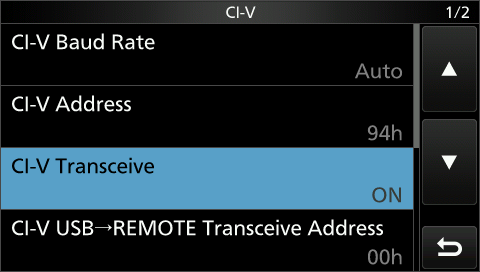
DTR for running RTTY (FSK) and CI-V Transcieve is ON
(menu pic. 1/2) for Wfview auto-detection to work.
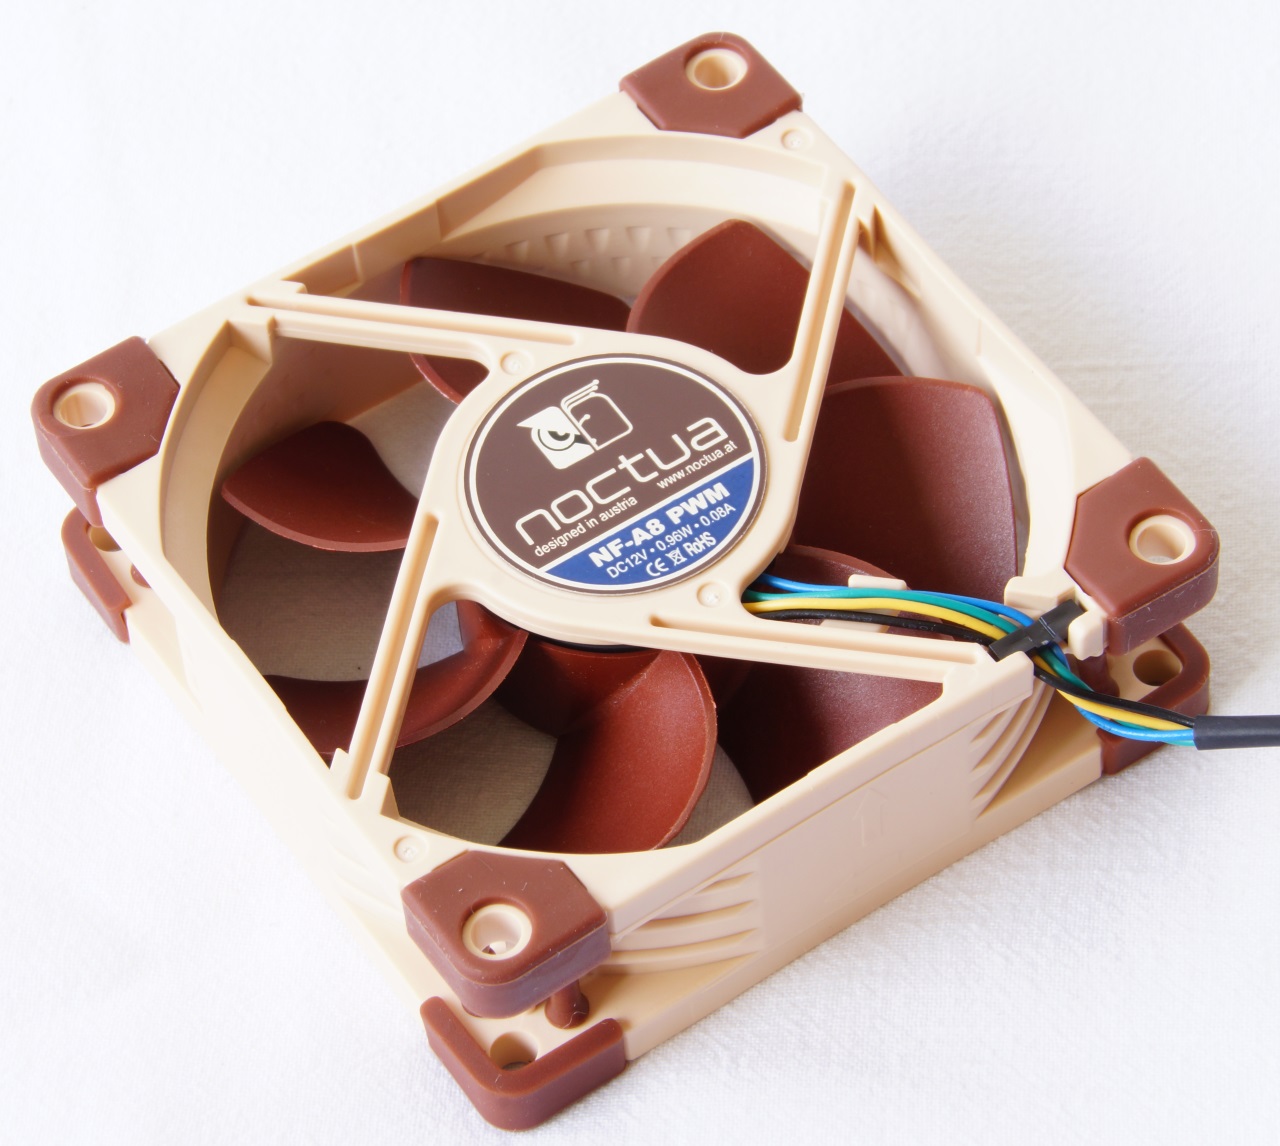
My original fan in IC-7300 has been replaced with a quiet Noctua NF-A8 PWM with PWM terminals unused. I hear no noise from the fan anymore.
Yellow wire is +, black is - polarity.
Yellow wire is +, black is - polarity.
Download: USB driver v.1.30
Download: ICOM USB Driver- Installation Guide v.1.30
Download:
Latest firmware Updates v.1.41
Information Firmware Version v.1.41
IC-7300 Full Manual v.12a Aug. 2024
IC-7300 Service manual.
IC-7300 Schematic Diagram
Download: ICOM USB Driver- Installation Guide v.1.30
Download:
Latest firmware Updates v.1.41
Information Firmware Version v.1.41
IC-7300 Full Manual v.12a Aug. 2024
IC-7300 Service manual.
IC-7300 Schematic Diagram
Click on the image for full size
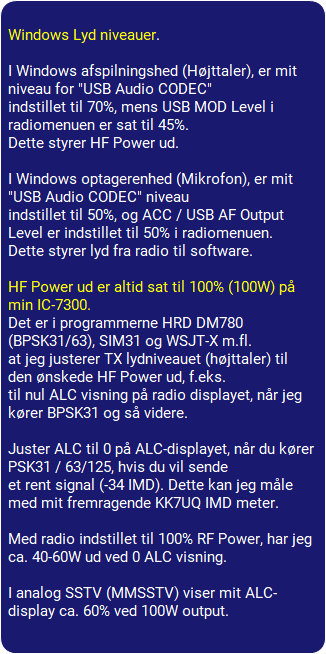
Power output is always set to 100W on my
IC-7300. It's in HRD DM780 (BPSK31), SIM31 and WSJT-X programs, I'm adjusting Tx audio level to control the output power, for example to zero ALC display, when running BPSK31 and so on.
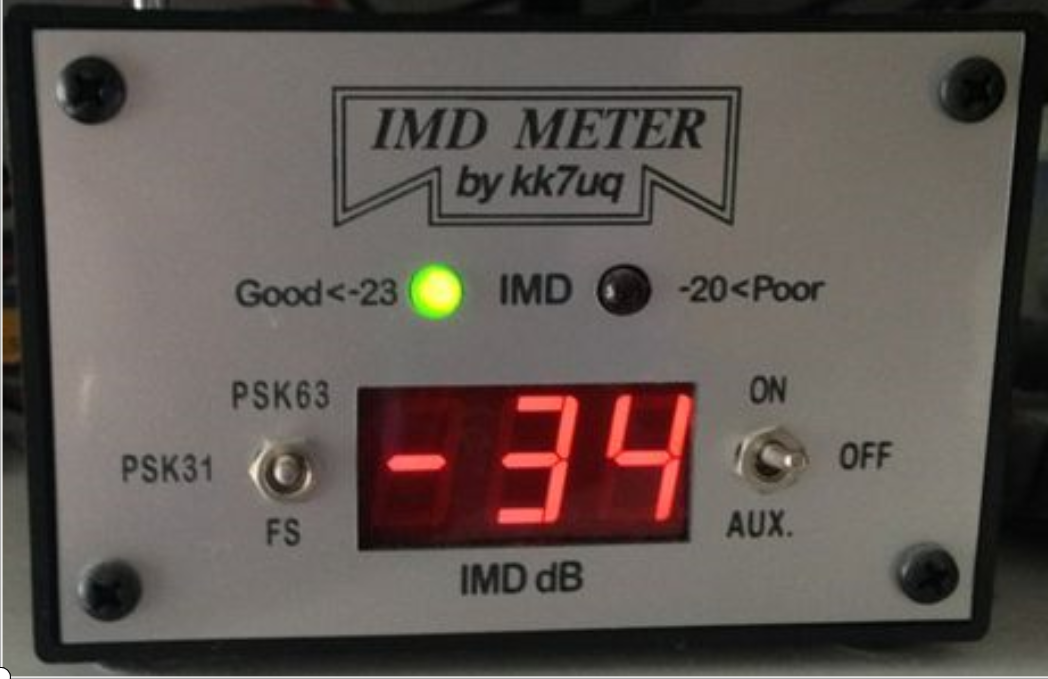
Adjust the ALC meter to 0 % of the ALC scale when running PSK31/63/125 if you want to send a clean signal (-34 IMD), with no visible unwanted sidebar pairs. This is measured with my outstanding KK7UQ IMD meter.
With radio set to 100 % RF Power, I have approx. 60W out at 0 % ALC display.
In analogue SSTV (MMSSTV) my ALC scale shows approx. 60 % at 100W output.

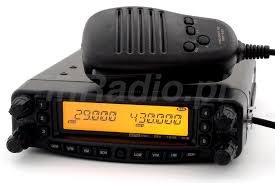
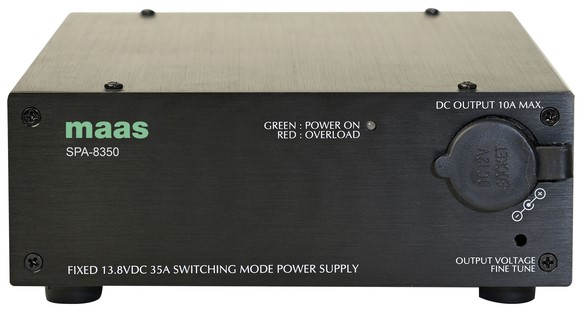
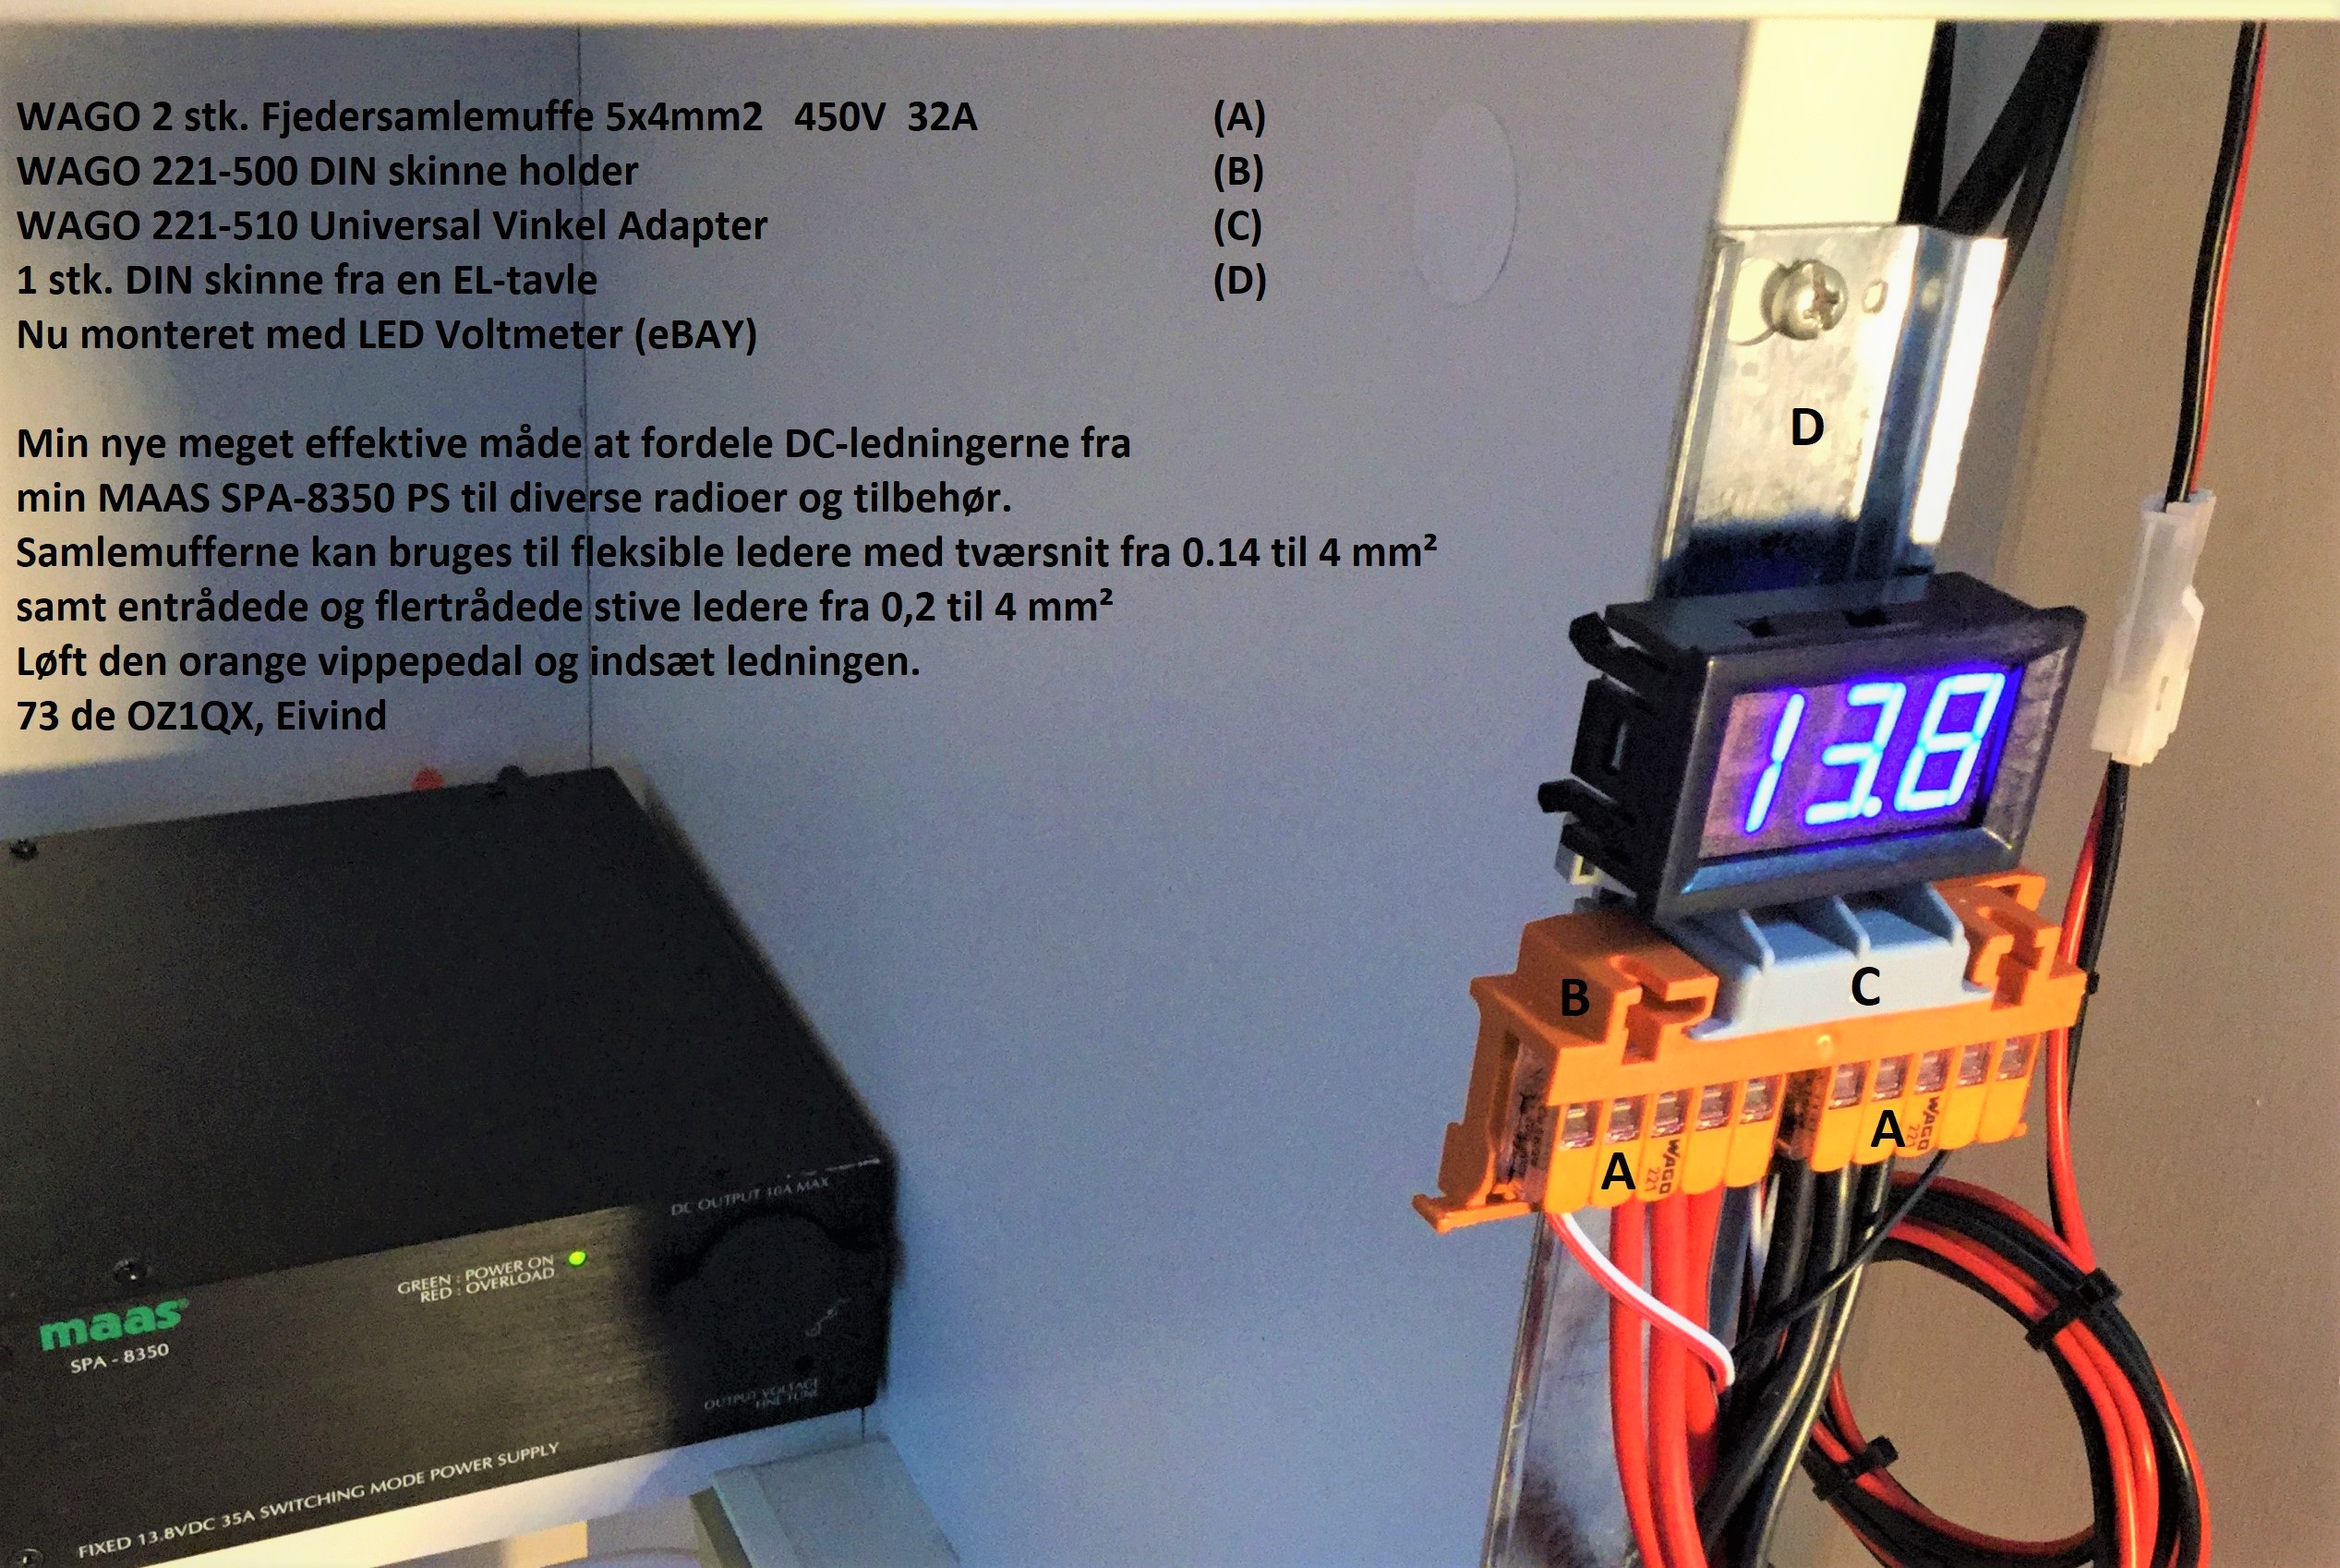
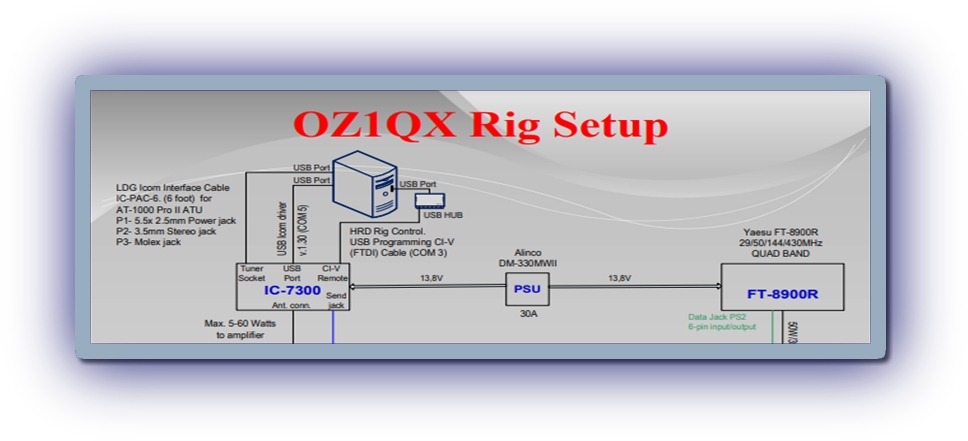
My collection of equipment

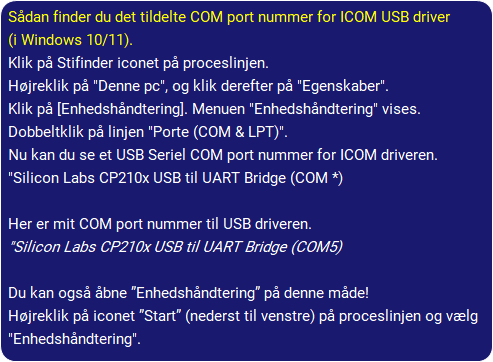
How to Find the COM Port number for the ICOM USB Driver (in Windows 10 or 11).
Click the File Explorer icon on the taskbar.
Right-click “This PC,” and then click "Properties”.
Find and Click on [Device Manager]. The “Device Manager” screen is displayed.
Double-click “Ports (COM & LPT)” on the “Device Manager” screen.
Now you can see the USB serial COM port number for the ICOM driver.
“Silicon Labs CP210x USB to UART Bridge COM*)
Here is my COM port number for the USB driver.
“Silicon Labs CP210x USB to UART Bridge (COM5)
You can also open Device Manager in this way!
Right-click your “Start icon” on the taskbar and select “Device Manager”.
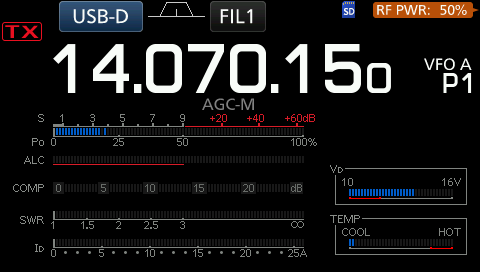
Setup with firmware ver. 1.41
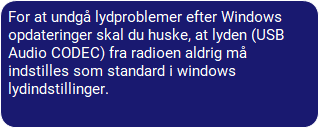
To avoid audio problems after windows updates, remember that the audio (USB Audio CODEC) from the Radio should never be set as default in windows sound settings.
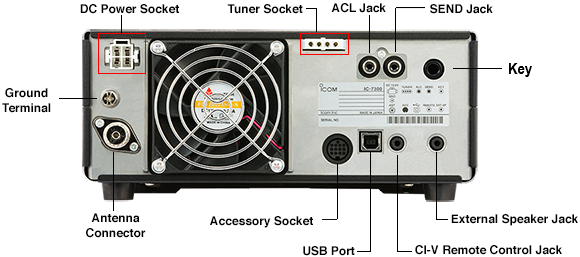
Back panel IC-7300
Wfview running FT8
Purchased a new Icom radio?
Download the USB driver and unzip it before installing the driver.
Remember that the USB A / B cable must first be connected between PC and radio after the driver is installed.
Download the USB driver and unzip it before installing the driver.
Remember that the USB A / B cable must first be connected between PC and radio after the driver is installed.
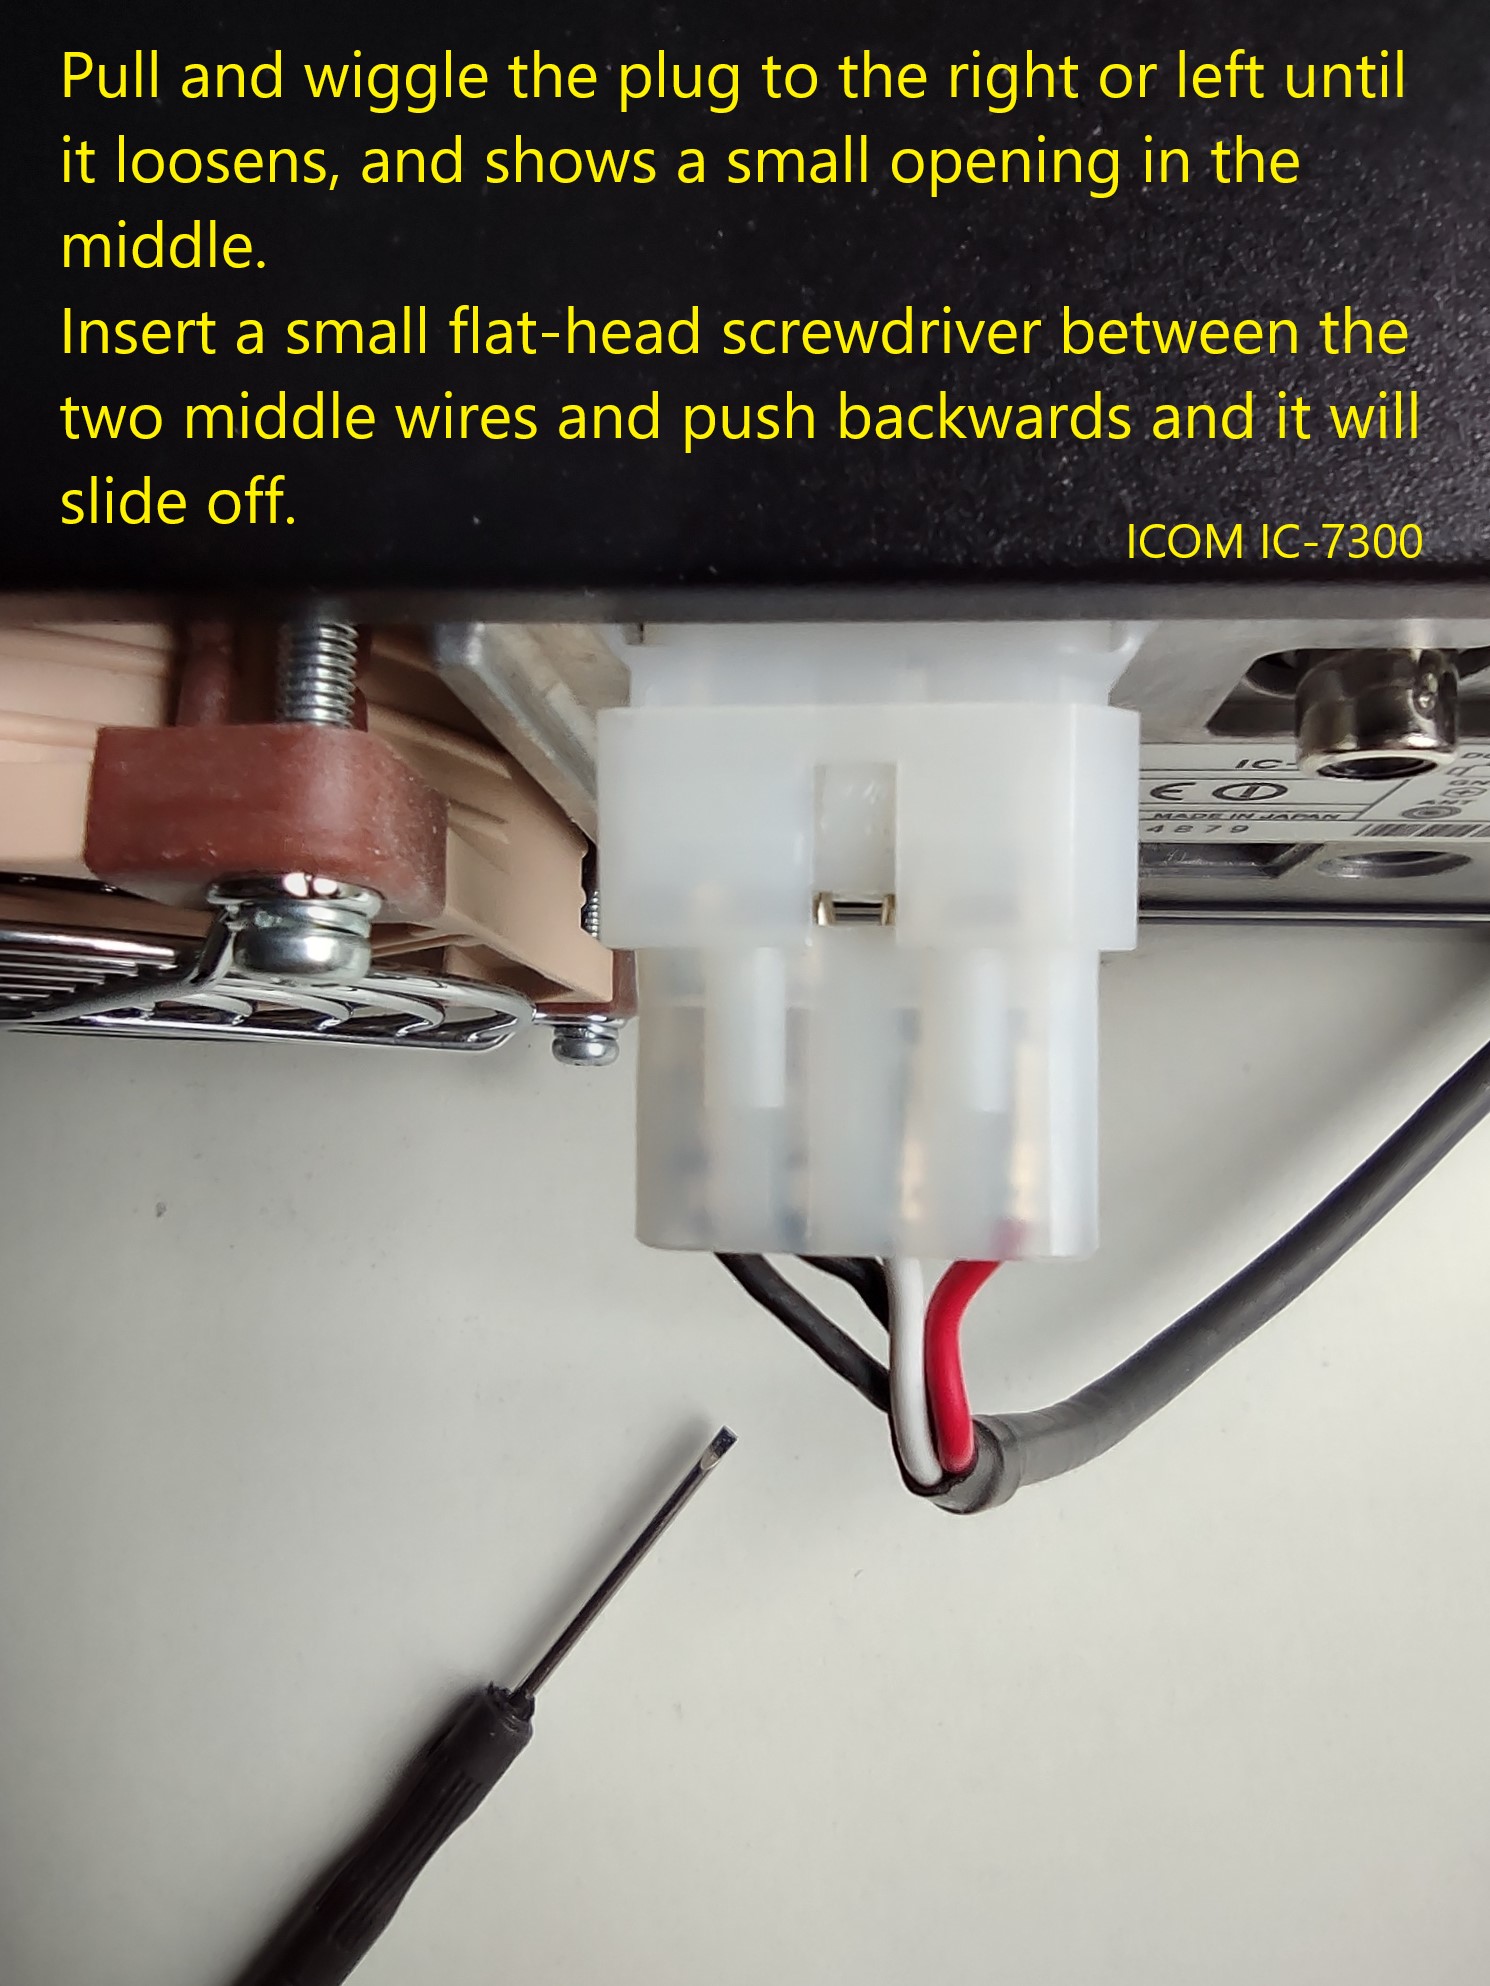
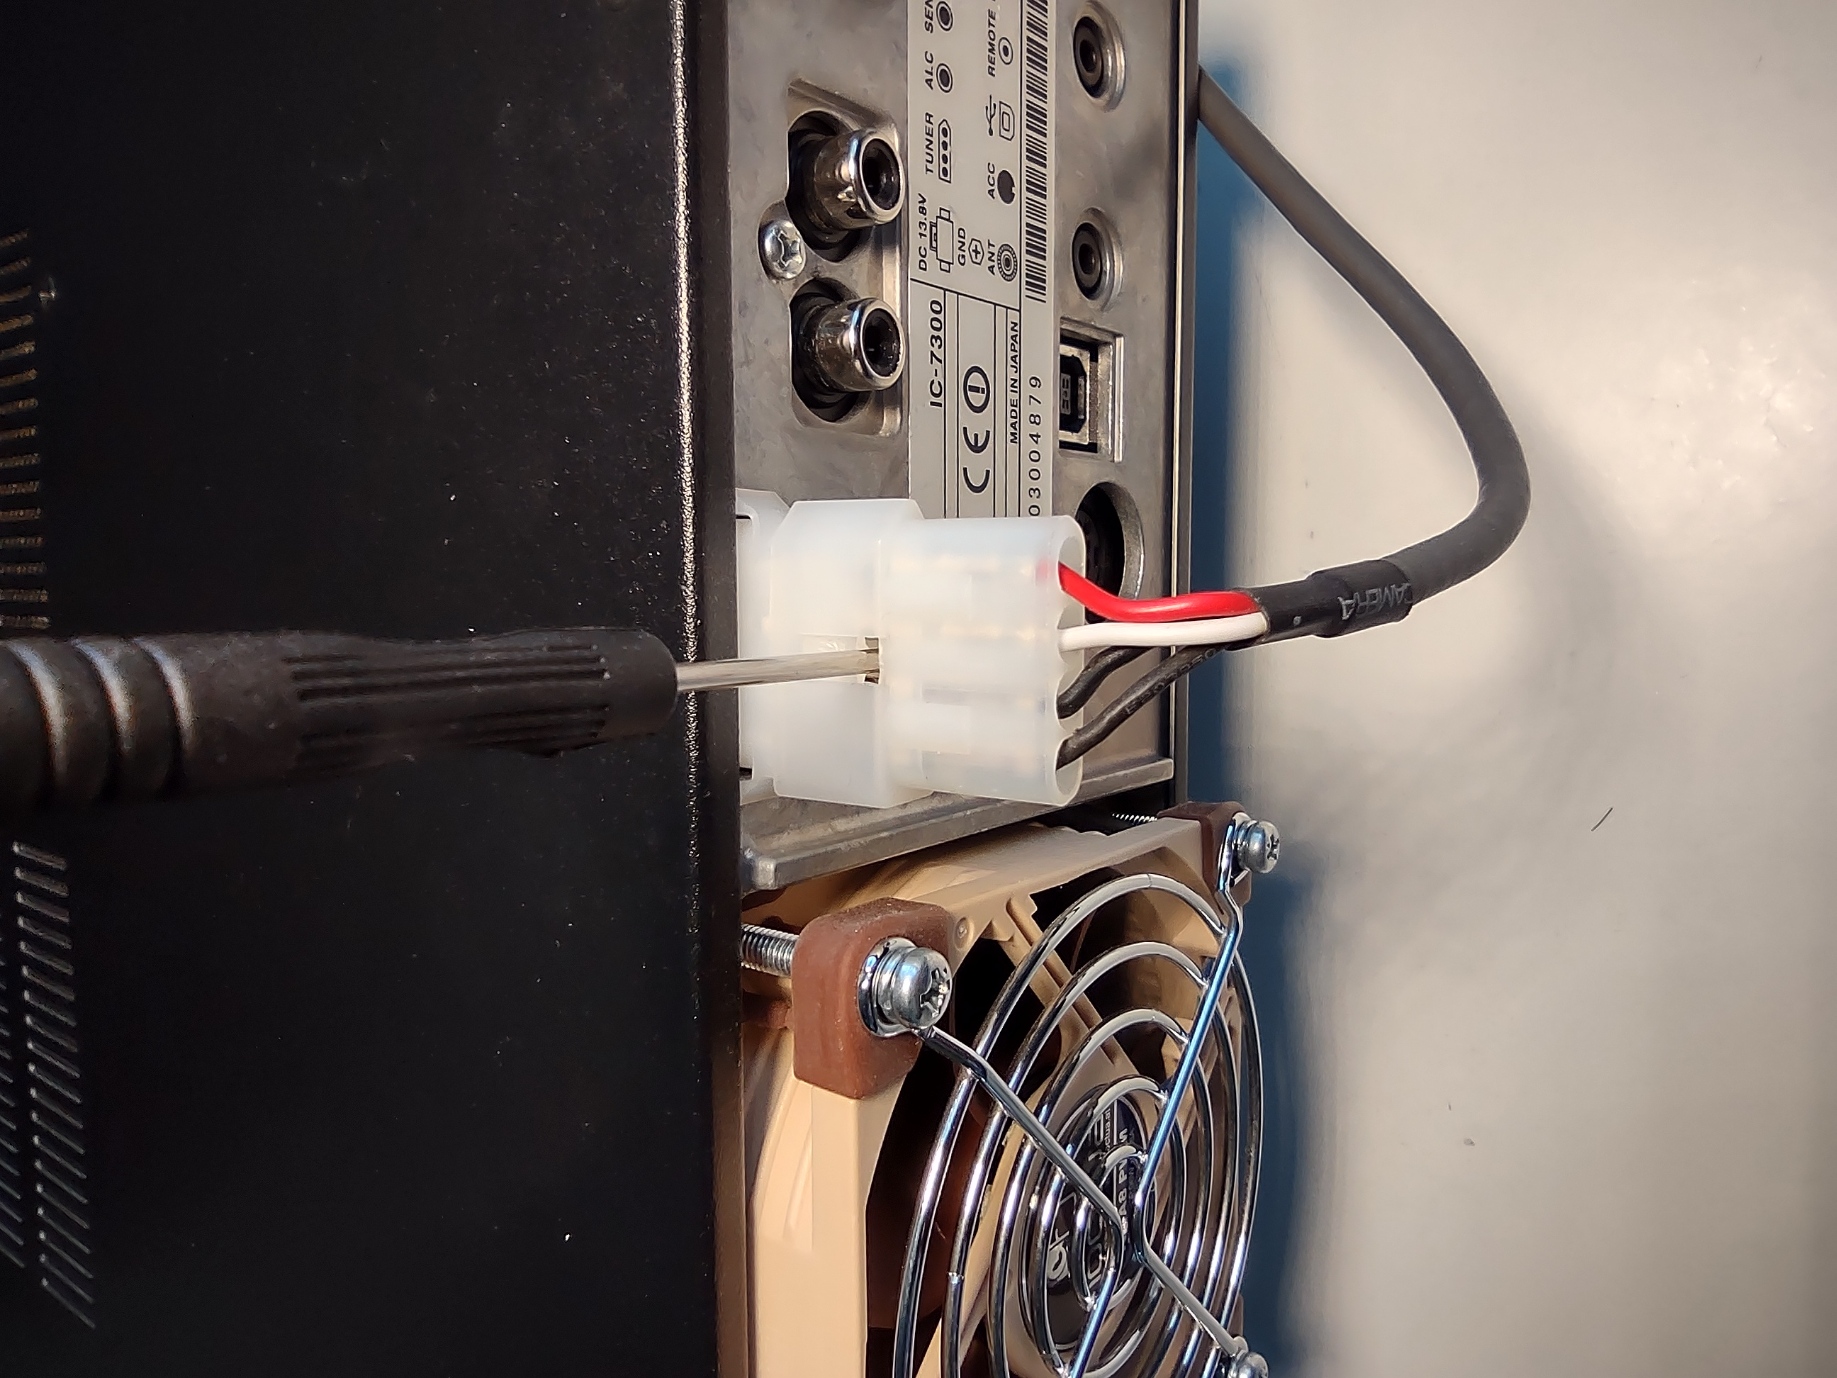
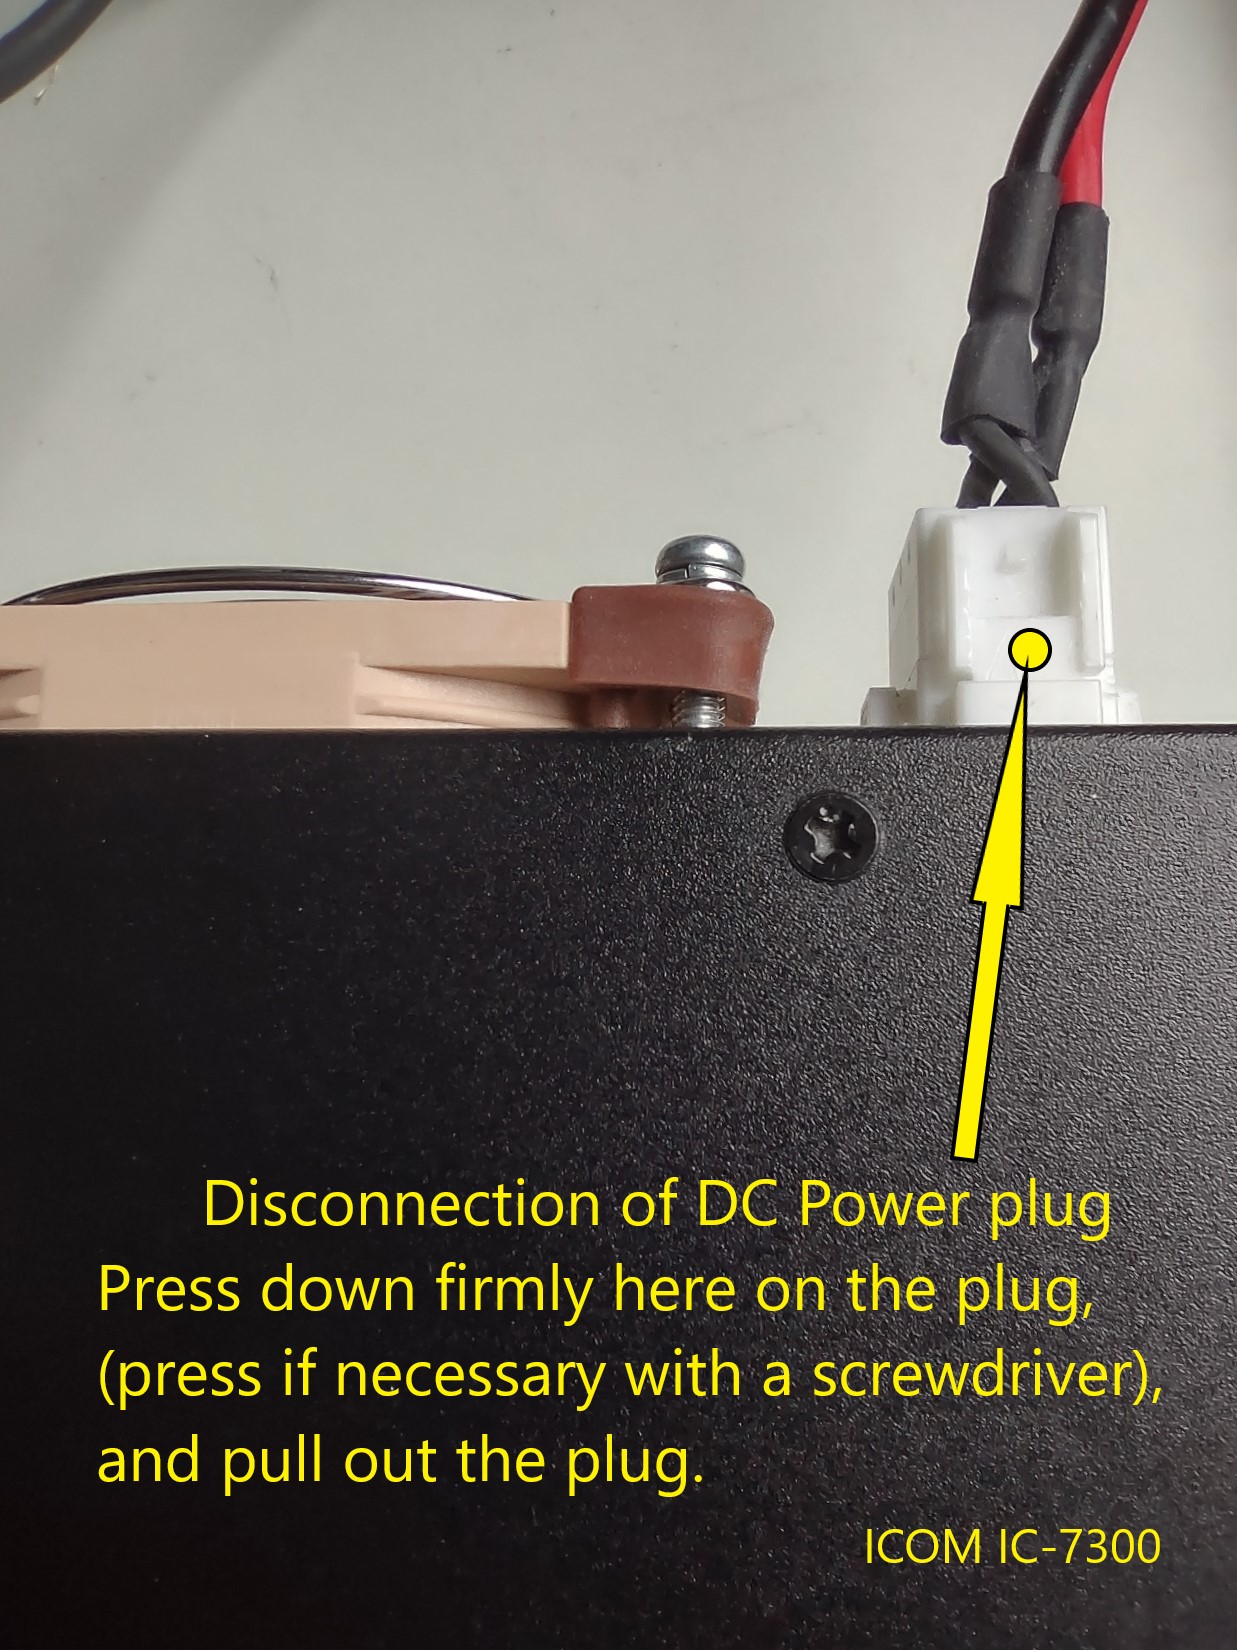
How to easily disconnect the DC Power Plug and Tuner connector Plug which causes many hams a lot of trouble.
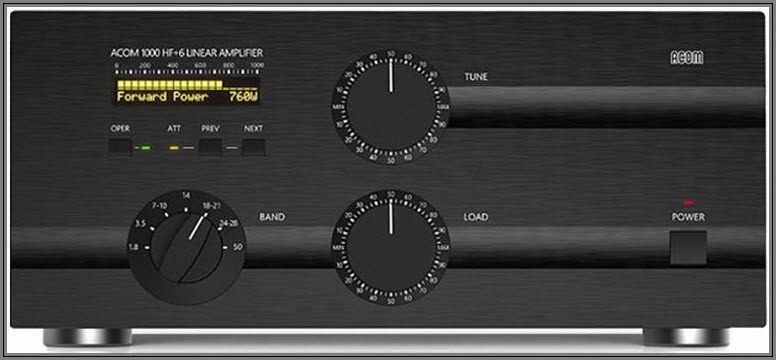
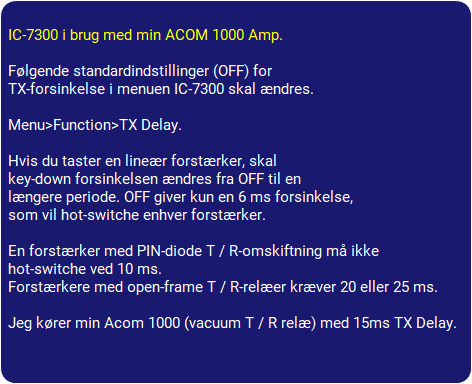
IC-7300 in use with my ACOM 1000
The following default settings (OFF) for TX Delay in the IC-7300 menu need to be changed.
MENU>SET>Function>TX Delay.
If you key a linear amplifier, the default key-down delay should be changed from OFF to a longer time period. OFF provides only a 6ms delay, which will hot-switch any amplifier. An amp with PIN diode T/R switching may not hot-switch at 10ms. Amps with open-frame T/R relays may require 20 or 25ms, this is a quote from Sherwood Engineering HF Test.
I run my Acom 1000 (vacuum T/R relay) at 15ms TX Delay.
See also Product Review by Mark (K1RO).
Download Product Review and see Lab Notes
Sound Setup, Speaker/Microphone.
